Auto Attendants allow your calls to be automatically answered for you 24/7, giving you time to focus on your business without having to manage incoming call routing.
Before you begin, these steps will need to have already been completed in order to proceed with IVR creation:
- You should have already created, uploaded or recorded voice prompts in Step #7. This is what your callers will hear when they reach the IVR.
- You should have already created a few phone extensions that the IVR can route calls to.
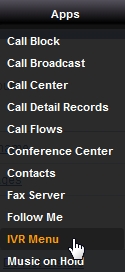
1. To begin, go to the IVR menu by clicking on Apps then selecting IVR from the drop-downlist.
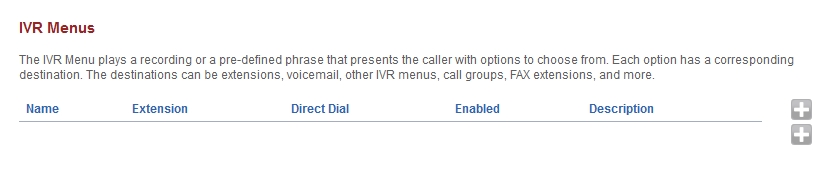
Here you will find the IVR Menu page: Click the + "plus" sign to create a new IVR menu.
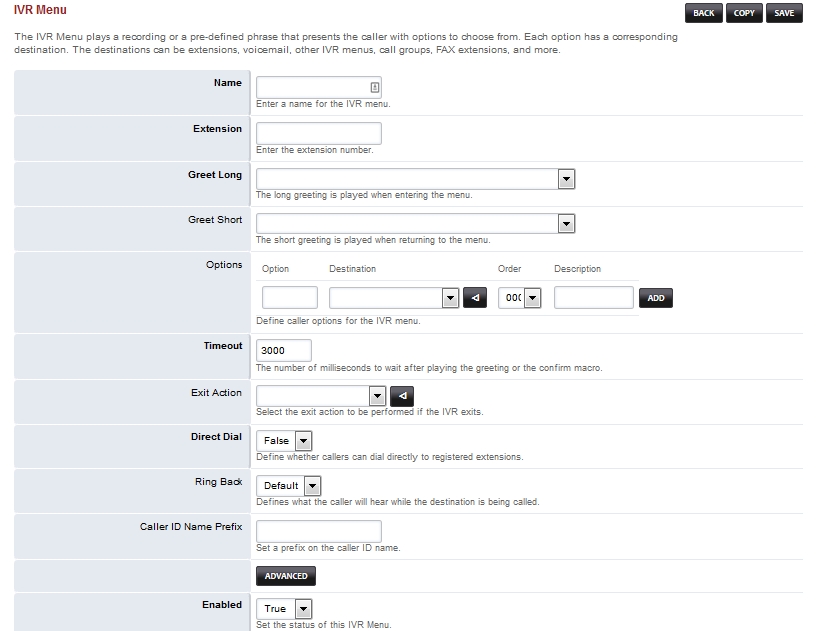
2. From here you will fill out the form accordingly. (Options in bold are mandatory).
-
Name: Enter a name for the IVR menu
-
Extension: Enter a new extension number. This must a new extension that isn’t allready created, as it will be used to reach this IVR diretly.
-
Greet Long: The long greeting when entering the menu.
-
Greet Short: The short greeting is played when returning to the menu.
-
Options: Define caller options for the IVR menu.
For example, if your recording says, "press one for sales" you can route option 1 to the extension of a sales team member or to the sales Ring Group. -
Timeout: The number of milliseconds to wait after playing the greeting or the confirm macro.
-
Exit Action: Select the exit action to be performed if the ivr exists.
-
Direct Dial: Set to "True". This defines whether the callers can dial directly to registered extensions.
-
Ring Back: Defines what the caller will hear while the destination is being called. (This is typically a us-ring tone or a pre-recorded message.)
-
Caller ID Name Prefix: Set a prefix on the caller ID name.
-
Enabled: set the status of the IVR Menu.
3. Now create a new inbound Destination.
-
Go to (Dialplan-> Destination)
-
Click the + (plus) sign to add a new destination
-
Make sure Type is "Inbound", then enter the DID that will be used to reach this IVR from the PSTN (external) into the Destination field.
-
In the Action drop-down field, select the newly created IVR (you should see the name you created in the drop-down list).
-
Then make sure Enabled is "True" and click save.
4. Now if you dial the DID you should get your basic IVR menu. You can then customize the menu with recordings and better options and so on.
Troubleshooting
- IVR Recording does not play
- Check that you uploaded a recording that is a 16bit 8khz/16khz mono WAV file.