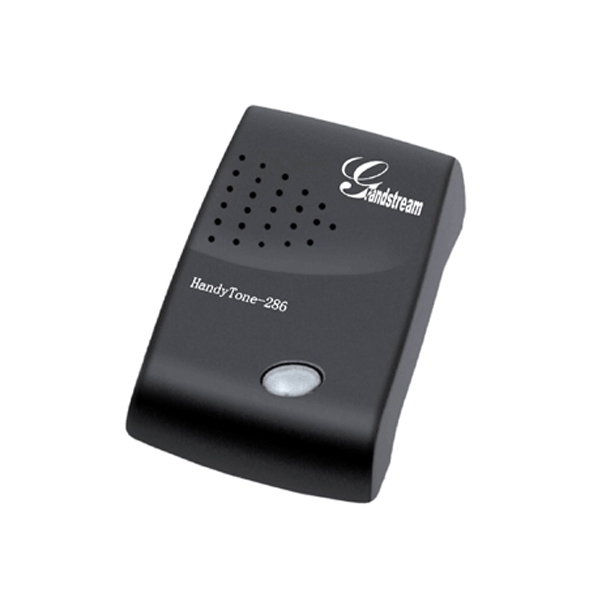
Grandstream - HandyTone 286

Grandstream’s HandyTone 286 is a next generation, cost effective solution for consumers looking to transition from traditional analog telephone devices to the savings and benefits of an IP telephony network. The product interfaces legacy analog telephones, fax machines, analog conference telephones and other analog devices to IP based telephony networks. The HandyTone286 is an entry level Voice-over-IP device supporting one telephone number and one RJ-45 interface 10/100 mbps Ethernet network.
- Interoperable with leading 3rd party VoIP providers
- Plug-and-dial
- Compatible with IP Communications SIP Services
- Compact and light weight
Configuration Instructions:
STEP 1For the purposes of the configuration, the following instructions are for SIP registration accounts ONLY. With this device, you will need to place the adapter close to the analog phone you will be using. For assistance, you can follow the FAQ page here.
|
STEP 2Make sure your computer has the necessary requirements to sustain the PBX . Once you have downloaded and installed your copy of Switchvox, open the web admin page at https://x.x.x.x/admin (where x.x.x.x is the ip address you gave to your Switchvox pbx).
|
STEP 3INSTALL THE Handytone 286
|
STEP 4HT–286 stores a voice prompt menu (Interactive Voice Response or IVR) for quick browsing and simple For a complete list of all IVR Menu Definitions click here.
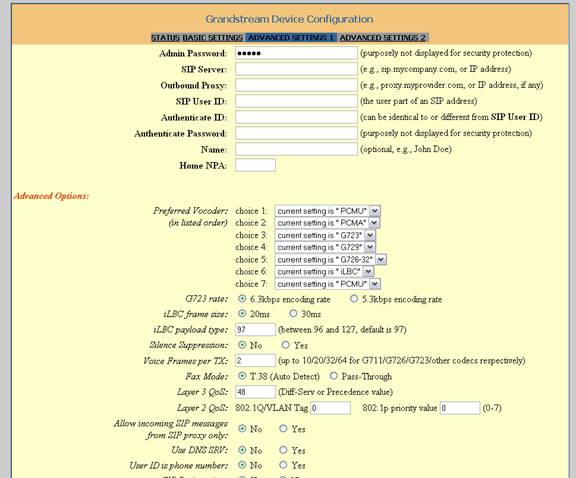
STEP 5Type the address into a web browser like this http://192.168.1.6 and you should see the following screen. Also keep in mind that the device will read all three digits from each octet, Disregard the leading 0s. For example, 192.168.001.00 would be 192.168.1.6 STEP 6You will see the following screen. The default password is admin . You may change this password later if you choose. STEP 7After you log in, you will see the following screen.
STEP 8For SIP Username/Password Registration Use the following config: From the default configuration, you will only need to modify the following fields: SIP Server: SIP Domain/Proxy (from provisioning letter)
SIP Registration: YesSTEP 9You can choose to change your codec to G.729A/B to save bandwidth, but not required. STEP 10NAT Traversal: No STEP 11NAT Traversal Click on the "Update" button at the bottom of the form. Reboot the device and attempt to make a call.
|


